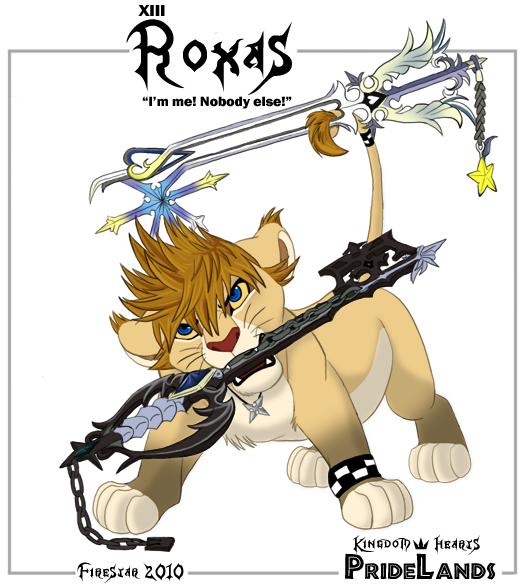
^^' Sorry I haven't updated in...awhile. School's been keeping me busy along with my comic Keystones and this KH Pridelands project I've picked recently. xD Summer vacation will start in less than a month for me though, so that's something to look forward to I guess. :D More time for artz!
Anyway, I recently got a message asking me to show a little more of what I do between planning a picture and it's completion. So I'll try to using pics I've finished or I'm working on. ;3
~~~~
Step 1: Concept
I only do this step if I have absolutely no idea what I want to draw or really want to see how a layout will look before I dive head first into drawing it out. I also like using this step for figuring out color combos if I'm doing concept. I'll sketch up a really quick 10 - 15 min doodle, just really worrying about getting my idea down. Then I'll quickly color it. Lol, the end result is really rough looking, but at least I have an idea of what my finished pic will look like. xD I can make changes between this and the final sketch anyway (and I usually do!)
This is the concept of Marluxia lion for my KH Pridelands project. This took me less than 10 mins to finish but gave me a lot of insight as to what I want my final pic to look like. I won't be keeping that pose since it's really boring or the color of the thorns but the colors for Marluxia and the falling sakura blossoms work well. :D
Step 2: Sketch
After the concept is done or if I already had a really good idea of what I wanted before I started, I'll start working on the final sketch for my picture. Normally this takes me anywhere from an hour to a entire day, depending on how complex my character is. Most of the time I sketch in Photoshop using a shade of blue, but if my pic has a lot of small detail, I'll sketch different parts in different colors to keep it all organized. I really don't worry about neatness here either since it'll all get cleaned up in the next step. ;3
Here's a really good example of a typical sketch I'll do on PS using one color. ;3
This sketch was a little more complicated so I used more colors than just my normal blue. Lion Axel's hair, face/body, chakram, and right arm were all different parts I wanted to keep separated.
When I do traditional media, I sketch really lightly in pencil. These were concepts of my fursona, Aki.
Step 3: Inking
This is the step where I clean up the mess I've made in my sketching stage or make slight changes to my design, though I try to keep these minimal. When inking digitally, I'll double the size of my sketch by using Photoshop's Image Resize feature then zoom in 300%. In the end, all of my pictures are really enlarged while I'm inking. I use a 4 pixel brush and ink everything free handed with my tablet. ;3 Digital inking ends up looking like this:

:
When I ink traditionally, I use a small 0.3 fineliner pigment pen just because they dry fast and don't bleed if I plan to color them with markers like my copics. The end results look something like this:
Step 4: Color / Shading
I try to finish everything up in this step. This is where I want everything to look its neatest and most complete. Normally my digital coloring in PS is done on several different layers separating the small details from the large blacks of solid color. I also like to color while still keeping my pic double it's size, though I only zoom in 200% here. I won't resize my picture back to it's normal size until I'm completely finished.
Tradition coloring is a little less complex. xDD I just use my copic markers or my colored pencils to color my lineart. Nothing really to explain here.
Here's Simba done in Copics!
And here my OC Kuhn colored in colored pencils!
Hopefully that gives those who wanted to know a little look into my pic process. ;3 More of my finished picture can be found on my deviantArt account or my TLKFAA. :D